Introduction
In animal training, teaching complex behaviours such as elaborate tricks can sometimes feel overwhelming. It’s not surprising! With many trainers highlighting the importance of intuition, experience and “chops”, some beginners are left wondering if they need 5 years of experience and a master’s degree in order to get anywhere. The good news is that when it comes to raising your training game, learning a little bit of theory can go a very long way. In this three-part blog series, I want to summarise a few key concepts that can help you to raise your trick training game considerably. The first installment discusses various methods to communicate new behaviours to your dog, and how to use these methods to build a step-by-step training plan. The second post will cover how to progress through these plans without getting “stuck” … and if you do get stuck how to break these plateaus. Finally – and this is the juicy one - I want to talk about training hacks to speed up progress, and to minimise frustration both for yourself and your dog. In each blog post I will also include a step-by-step training plan for a complex trick, which you can practice. I hope you enjoy the series!

A little bit of theory goes a long way when it comes to trick training!
Generating new behaviours
In this post, I’m going to assume a basic understanding of the mechanics of clicker training. If you’re not quite sure what clicker training is or how to get started, I highly recommend watching this short YouTube video by Kikopup before reading on.
Our dogs cannot understand our spoken language and so it is imperative that we find other ways to communicate with them. Luckily for us, dogs can understand much of our body language and vice versa. Dogs can process information about our expressions, how we move, and how we speak to them. They can differentiate between scowls and smiles, shouting and singing, and a person who is tense compared with a person who is relaxed. For our part, we are capable of broadly understanding our dogs’ body language and vocalisations. A dog who is slinking away or crying seems very different to us compared with a dog bouncing around or relaxed. This foundation for communicating is extremely important, and should not be overlooked, but it is not precise enough on either side to communicate complex ideas. When it comes to tricks, we are going to need better methods of communication.
Most beginners train novel behaviours using only three of five potential methods – and the two they are missing out on are often the most powerful tools we have! The five methods for generating novel behaviours are: Capturing, Luring, Modelling, Targeting and Shaping.
Capturing, Luring and Modelling
The three methods that we use most intuitively when training our dogs are capturing, luring and modelling. I believe that most dog owners, when left to their own devices, will use each of these three methods with ease.
Capturing refers to waiting for a behaviour to occur on its own, and then rewarding it when it does. Sometimes, we can “prompt” our dogs to perform a behaviour, and then capture it. For example, make a noise and then reward the dog’s attention as he looks around at you – this is how we teach our dogs their names. The idea behind capturing is that a behaviour which is always or often rewarded will occur more frequently. Many of us train “sit” using capturing, our dogs often sit and look up at us and we like this behaviour so we reward it. Some of us even inadvertently train cute behaviours such as head tilts and sit pretty as our dogs find creative ways to hold our attention and access our treats! Capturing is incredibly powerful as a technique as it leaves you with a finished, clean behaviour but the drawback is obvious – the finished behaviour has to occur naturally, in order to be captured. If your dog doesn’t do a cartwheel on her own time, then capturing won’t allow you to train one.
Luring is a go-to method for many trainers. It requires the dog to follow a tasty morsel into a position or through a motion before the treat is released. For example, you can teach “spin” by describing a small circle around your animal with a treat-in-hand and then release it after one full rotation. Another example is lowing the treat slowly to the ground to encourage your dog into a lie-down position, then releasing the treat. Luring is a key component in all kinds of tricks, as it gives the handler a great way to communicate desired direction and position. The drawback is that your cue begins as a visible treat with a large hand gesture. You must therefore spend time teaching new cues in order to prevent your dog from being reliant on the sight of food or sweeping hand gestures to complete the behaviour. Plenty of dogs know how to lie down if the handler lowers their hand to the floor in front of the dog’s nose, but have trouble learning to do it from a verbal cue alone. To get around this problem, say “down” clearly or use a small hand gesture such as a pointed finger before initiating the sweeping hand gesture. Eventually your dog will recognise the pattern and preemptively get down from the first cue. If you reward it enough times, this new cue will be installed, and the old cue can be discarded.
Modelling is the process of physically manipulating our dogs into a position or through a motion, so that we can reward them. Modelling gets a bad reputation among professional trainers, as it is seen as crude and relatively ineffective. Generally, pushing your dog’s bottom down into a sit is a bad idea because the dog becomes reliant on you to initiate and complete the behaviour (besides, it’s not the most fun way to learn and can even discourage shy dogs). It’s really very difficult to bridge the gap between physical manipulation and voluntary behaviour, but this can be done with patience and practice. When a behaviour is modeled, it’s generally much slower to be learned, if it is learned at all; but modelling can be used successfully. Many beginner trainers teach “shake a paw” by modelling the behaviour, and I’m sure we’ve all taught our dogs to step into harnesses, tolerate vet restraints and learn to love bear hugs using modelling – so don’t discount it completely.
Capturing, luring and modelling are all used relatively frequently by the vast majority of dog owners. I believe this is because these three methods are the most intuitive to us, and are effective. Almost all the basic behaviours a pet dog needs to know can be taught using these three methods in combination: from basic obedience including sit, stay, lie down and come; to tricks like shake a paw, sit pretty and roll over. For those of you wishing to raise your training game and go beyond the basics, however; capturing, luring and modelling are not enough. It’s time to learn targeting and shaping.
Targeting
Targeting isn’t as straightforward as the first three methods because targeting always contains an extra step. In order to use a target to generate a new behaviour, you must first teach targeting with one of the other methods! Targeting is teaching your dog to interact with a specific marker or object in a set way. Commonly dogs are taught to target a marker by placing part of their body onto it, but targeting is also a key part of behaviours such as alerting to a scent, going to a specific place, or watching a person. A simple targeting exercise is to teach your dog to touch his or her nose to the palm of your hand – we usually call this “touch”. Touch is taught by presenting your hand in front of the dog’s nose, and capturing the moment when he or she sniffs your hand. Once you’ve taught the targeting behaviour, you can use it to generate new behaviours. In the hand target example, you can use touch to generate a recall where the dog comes running from 100 ft away to touch your hand.
Some complex behaviours can only be taught if a targeting element is understood. I taught my dog, Percy, to pretend to pee on objects by raising his back leg to touch a target. Since he doesn’t raise his rear leg naturally (except to actually pee, and I don’t want that!) I cannot capture it. I cannot lure it, as only the nose and head will follow a lure, and modelling the motion would be an extremely slow process, if it was even effective at all. Enter targeting!
Here is Percy’s fake pee trick, which I taught using a rear-paw target.
Another example is turning “shake a paw” into “wave goodbye” – if you taught your dog shake a paw, you have taught them a targeting behaviour. By slowly fading the target (your hand) out of the picture, you can capture the moment your dog reaches for the target and misses, which looks like a wave. Eventually, you won’t even need your target hand. Your dog will understand that it’s the waving behaviour that earns him the reward.
Targeting is a hugely powerful behaviour. Unlike luring which only gives us control over the head and general direction of movement, targeting allows us to explain to our dog that we would like them to move individual body parts, or move sideways and backwards. When we use targeting, we have a much greater level of precision. Targets are also far more effective for distance work than luring. The only drawback is, like luring, the handler must be diligent to place the behaviour on a new cue such that the target is eventually removed, otherwise the dog becomes reliant on the presence of the target in order to complete the behaviour. Sometimes, the target is always present; for example during heel, I ask Percy to put his shoulder on my leg – a targeting behaviour which is integral to the final performance.
Shaping
Shaping is the flagship technique used by elite clicker trainers. Without a solid understanding of how the clicker works, shaping isn’t viable, and so non-clicker trainers don’t have access to this extremely powerful technique.
In a nutshell, shaping is teaching a behaviour by capturing successive approximations. For example, I may capture the instant my dog looks in the direction of his bed, and then give him a treat at my side. After a few repetitions, my dog will start looking at his bed quite regularly. I can then begin capturing any instance where my dog looks at the bed AND takes one step towards it. Then, once that is learned, I can look for instances where my dog takes multiple steps towards his bed, eventually putting his paws on it. In this manner, I can slowly raise my criteria for clicking from “look at the bed” to “get on the bed” to “get on the bed and lie down” to “get on the bed, lie down and stay there”. Once the final behaviour has been learned, I can install a verbal cue “go to bed!” and now my dog knows that in order to receive a treat, he must go and settle on his bed until I release him.
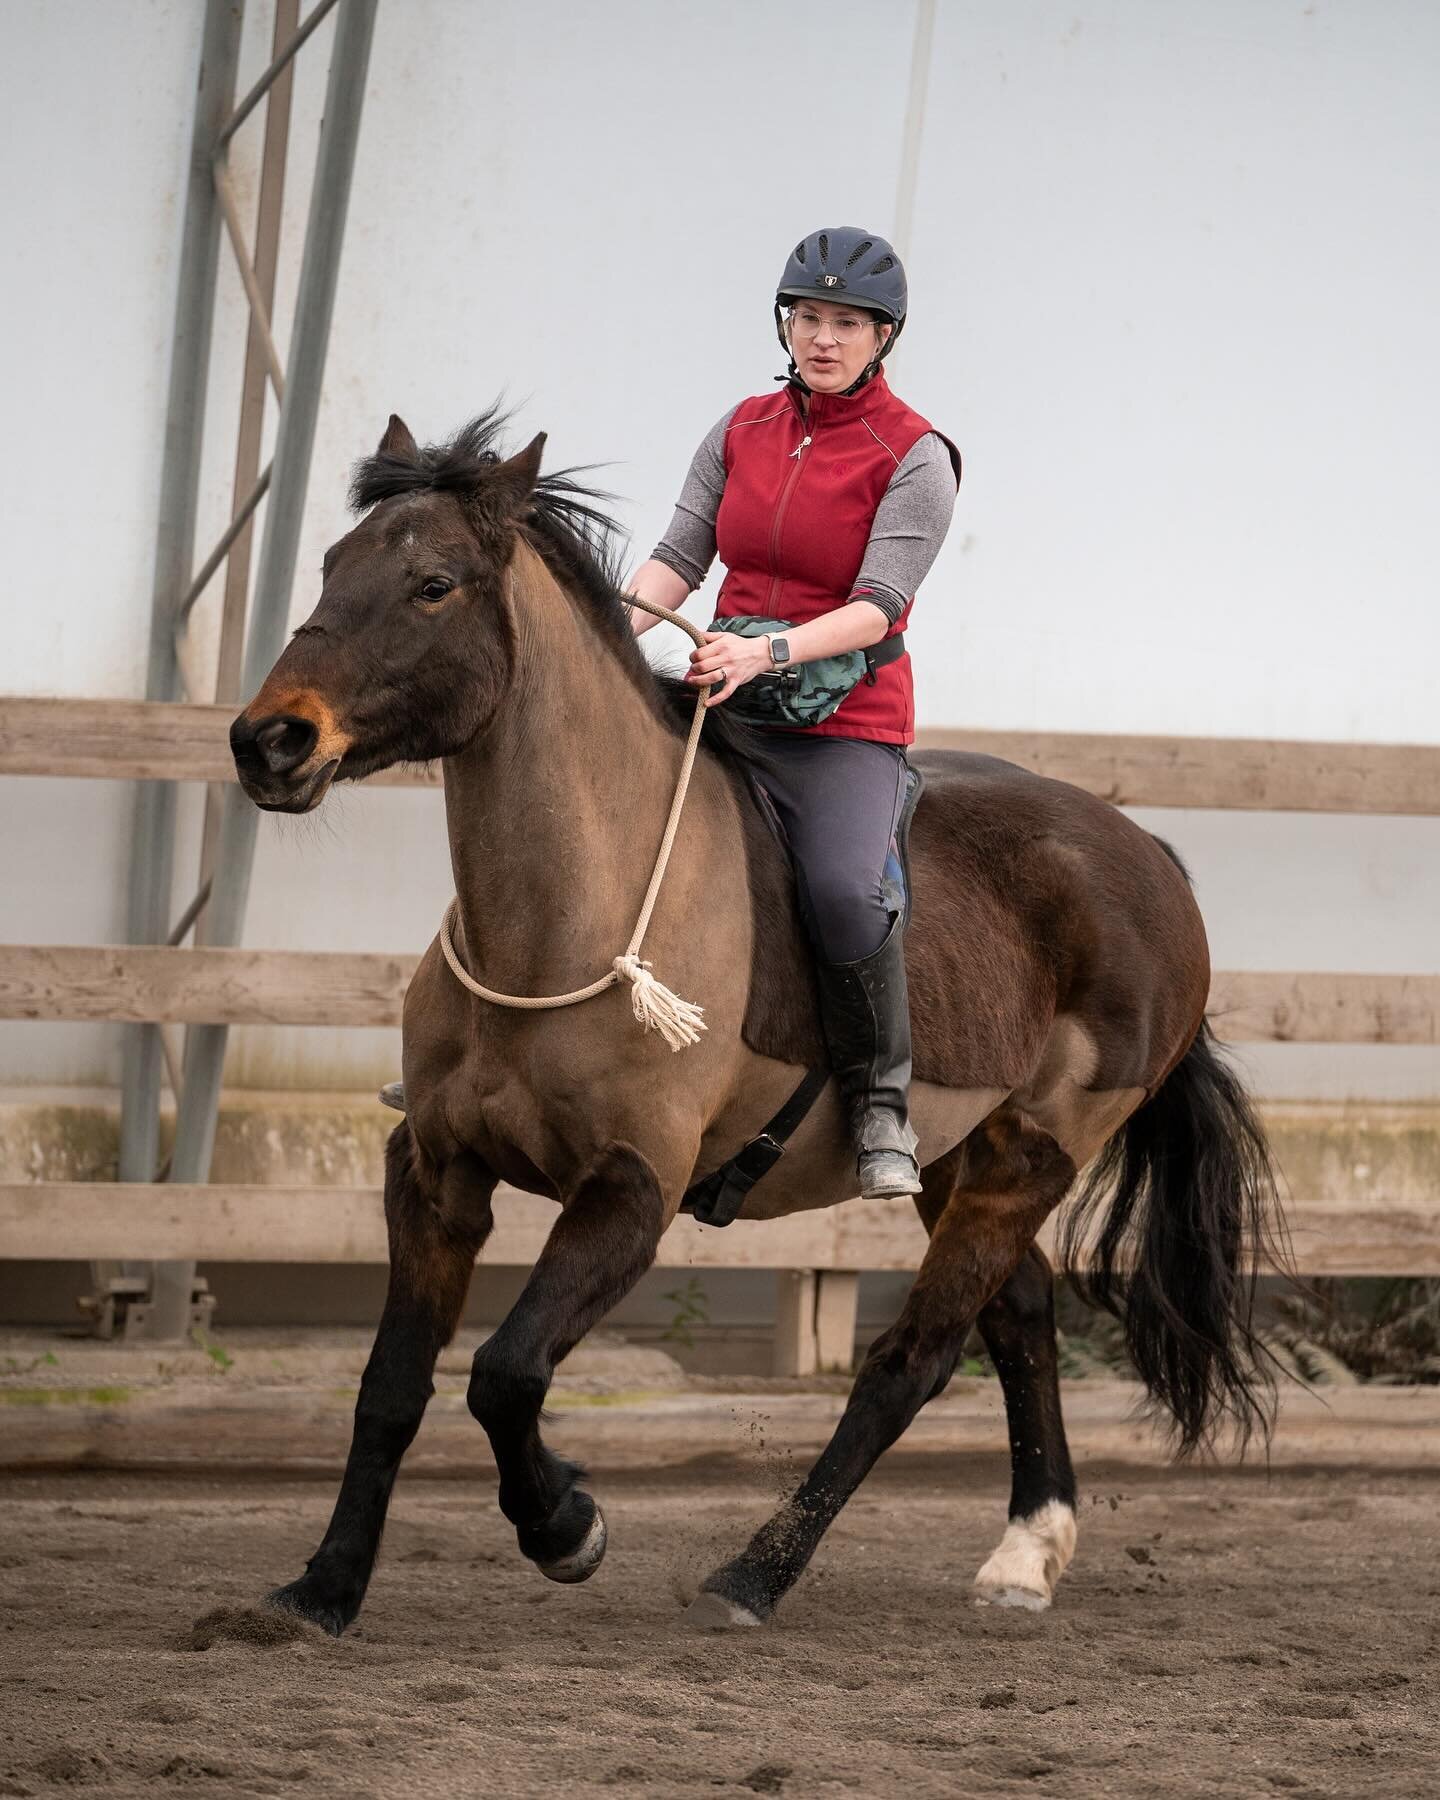
Here I am in the final stages of shaping Geoff’s “Go to Mat”. I have him targeting the mat successfully, and I am now building in the lie down. I also move the mat around periodically to ensure he is still targeting the mat where-ever it is.
The best part about shaping is that the behaviour is in place without any grand hand gestures or complicated props. I don’t have to get up, lead my dog to the bed, point at it and say “go to bed!” as I may have to if I taught the behaviour using luring. The more a trainer practices shaping, the more accurate they become in terms of timing, allowing them to sail through criteria increments very rapidly. The more a dog practices shaping, the more creative they become. Shaped dogs will try new things in order to hit upon the correct behaviour, speeding up the process considerable. Shaped dogs will often invent their own tricks, practically training themselves, which is an absolute delight in itself!
Chaining
Each element of a complex trick is generally taught separately, then brought together at the end to produce a final trick. Indeed, half the battle of trick training is trying to separate each element so that it can be taught individually with one or more of the methods I’ve described. Sometimes, this task is easy – fetching a beer from the fridge can be easily broken down into: opening the fridge, picking out the beer, retrieving the beer to owner, then running back to close the fridge. Other times, it’s very difficult to see the component parts. Wrap yourself up in a blanket looks like one smooth and fluid motion, but it really consists of: moving to the correct place on the blanket, picking up the correct corner, holding the blanket and rolling over. If you can get good at splitting up tricks into individual elements, you can teach your dog almost anything.
Wrap yourself up in a blanket looks like one fluid motion, but it can be broken down into several distinct steps.
Once you’ve identified and taught each element, they must be performed sequentially or “chained” together. For most humans, the logical thing to do is ask your dog to perform Task 1, then Task 2, then Task 3 and finally Task 4. This is because humans are very good at seeing long term rewards and the bigger picture – we know that once Task 4 is completed, there will be a reward, and it’s worth doing the whole chain. Dogs on the other hand, often don’t see the big picture until the whole chain has been learned thoroughly. This means that in the beginning, they don’t know when the reward will come, or how many tasks there are in the chain. This can lead to frustration for the dog – it would be like me asking you to go into a biochemistry lab, weigh out some chemicals and mix a solution. I may ask you to prepare solution after solution, then perform an experiment, and then repeat that experiment twice more. You would have no idea why you’re doing it or if there was a reward until you’d finished! How long would you keep doing those tasks without understanding the purpose? The solution to this problem is something called “Back Chaining”. Start with Task 4, then reward upon completion. Then start with Task 3, move on to Task 4, then reward. This backwards chaining has two main advantages in terms of maintaining morale. Firstly, it’s more rewarding as your dog doesn’t have to complete the full sequence in the beginning. Start with one task, then two, then three, raising the bar slowly rather than all at once. Secondly, because Task 4 is well practiced and has historically been paired with a reward, your dog becomes confident performing it and will actually look forward to the final task. When you back-chain, you move from hard to easy tasks, rather than easy tasks to hard tasks, which makes the process seem much less frustrating to your dog. If you’re running a marathon, it’s easier on your morale if the course gets steadily less steep; running it the opposite way around would seem much harder, even though it’s the same course.
Putting it all together
Each complex trick must be separated into distinct elements and taught using one or a combination of the methods I’ve described. After each element has been taught, they must be chained together to give the final result. This ability to plan underpins good trick training – a good planning strategy can break down even the most complex of behaviours into manageable steps. If you aren’t great at planning, however, never fear – there are plenty of resources online where you can find pre-made step-by-step guides, or you could ask your friendly local dog trainer to assist you in putting one together.
I want to summarise this post by going through a few examples of my personal training strategies for a few of the more complicated tricks Percy knows. The trick to doing this type of training successfully is learning how to break down the final behaviour into small chunks. I hope that in seeing the trick deconstructed, it will enable you to formulate your own training plans with more confidence!
Stay tuned for my next post, which will be about how to troubleshoot when you get stuck on a training plan, and how to ultimately overcome these training “plateaus”. They happen to everybody, so don’t worry!
Example training plan – Get the First Aid Kit!

Description of final behaviour: Percy runs away from me to the drawer containing the first aid kit. He then opens the drawer by tugging on the rope. When the drawer is open, he searches for the first aid kit, and picks it up. Finally, Percy runs back to me with the kit and drops it at my side.
Individual Trick Elements: Pick-up the first aid kit, Carry the first aid kit, Drop the first aid kit. Locate the drawer. Open the drawer. Pick-up the first aid kit from the drawer.
Step-by-Step Guide:
i. Pick up the first aid kit: Capture the pick-up by handing your dog the kit, and clicking when they pick it up. Hand the kit to your dog, but lower your hand towards the ground until your dog can pick up the kit from the ground.
ii. Carry the first aid kit: Shape the carry by handing your dog the kit, and clicking for progressively long times that your dog holds it in their mouth (you may have to start from just a split-second count, the progress by tiny increments). When you have a 3 second hold, prompt your dog to come towards you, and click for one step with the first aid kit held in the mouth. Progressively raise the bar until your dog can carry the first aid kit for the 5 or so steps.
iii. Drop the first aid kit. Lure this by saying “Drop it!” then placing a treat by the dog’s nose. When the dog drops the item, release the treat. Eventually, the dog will associate the cue “Drop it!” with an oncoming treat and will relinquish items on verbal cue without the need for the treat.
iv. Chain “Retrieve the First Aid Kit”. Start by rewarding your dog for dropping the item after picking it up (this is auto-chained, as the two behaviours are dependent on one another). Then ask your dog to carry the item for short distances before dropping it. Add in more distance, until your dog can retrieve the kit from the desired distance. Put this chained behaviour onto a new cue e.g. “get it!”.
v. Locate the drawer. Shape the target behaviour by clicking when the dog approaches the drawer, until they are targeting it with their nose. Then add distance to this targeting behaviour such that the dog can target the drawer from across the room.
vi. Open the drawer. Capture “tug on the rope” by prompting your dog to play. Affix the rope to the drawer, and capture any effort to pull on the rope. Shape this behaviour until the pull is strong enough and sustained enough to open the drawer.
vii. Chain together Target the Drawer and Open the Drawer, such that your dog can now open the drawer on cue from greater distances away. Put this on a cue such as “Open it!”
viii. Practice the first aid kit retrieve, then chain in pick-up from the pre-opened drawer. This is “Get It!” with the kit located in the drawer. If your dog struggles, try sitting closer to the drawer and then add in more distance.
ix. Chain together “Open It!” and “Get It!”. Start sitting next to the drawer, then add more distance.
x. Put the whole behaviour under a new cue, e.g. “Get the first aid kit!” and practice until your dog understands this as the only cue you need. Then, you’re done!